
How to Build a Home Voice-Over Booth on a Small Budget
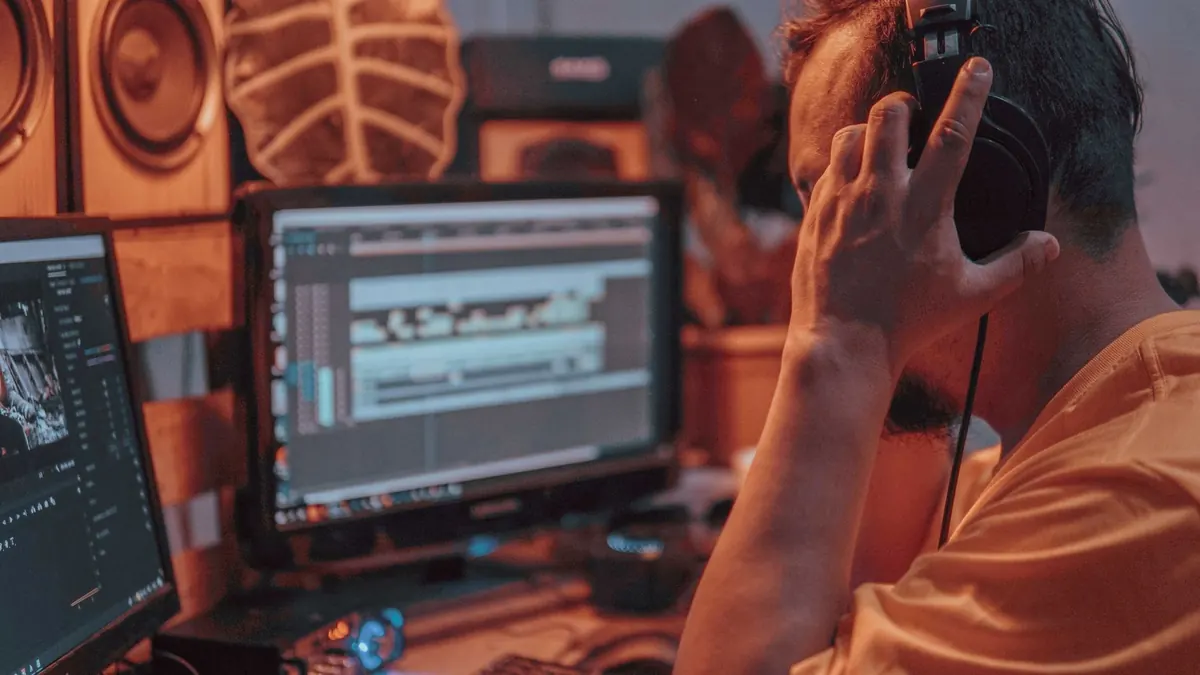
Most people who record voice-over at home blame the microphone first. They buy a better one, and the echo stays. The hum stays. The neighbour's dog stays. What they were hearing all along was the room.
A usable home booth is less about gear than about decisions: which room you choose, what you put in it, where the microphone goes, and how honestly you listen back. Done well, a corner of a bedroom with a borrowed duvet and a decent stand can produce tracks clean enough for narration, e-learning and most commercial work. Here is how to get there without spending like a studio.
Choose the room before you buy anything
Spend an hour with your ears before you spend money. Stand in each candidate room, stay still and listen for a minute. The fridge cycling next door, the boiler, the laptop fan, traffic outside, the extractor fan you never notice — these are the sounds that end up under every take.
Favour rooms with soft surfaces and a few irregular objects: carpet, curtains, a bed, a sofa, bookshelves. A bedroom almost always beats a kitchen or bathroom, whose hard surfaces bounce your voice straight back at the microphone. Unfinished basements and stairwells are tempting for their space and usually a trap for reverb.
Small rooms bring their own problems — a boxy low end, rapid flutter between parallel walls — but they are far easier to fix with soft furnishings than a large empty room will ever be. If you have a walk-in closet, take it seriously. Hanging clothes are some of the best free absorption you will find, and the space forces you to work close to the mic.
Then handle the boring wins. Switch off the heating or air conditioning for the length of a session. Turn off fans. Put the phone in another room. Move the microphone away from the window and away from the door. That is half your noise floor gone for nothing.
Three jobs, in the order you should tackle them
Acoustic problems get discussed as one thing, but they are really three, and each has a cheap answer:
- Reflections. Your voice bouncing off walls, ceiling, desk and glass, arriving at the capsule a few milliseconds late and blurring the sound. Fixed with soft material in the right places.
- Outside noise. Traffic, neighbours, appliances. Fixed by choosing a quieter room, sealing gaps around doors and windows, and recording when the street is calm.
- Vibration. Footsteps, keyboard taps, a laptop fan, a passing lorry, all travelling through the desk or floor into the stand. Fixed with a proper stand, a shock mount and a little separation.
Treat the room with what you already own
You do not need to line four walls. You need to stop reflections reaching the microphone, and the voice is a fairly directional source. So the material belongs behind you and around the mic, not spread evenly across the room.
The classic cheap setup: a heavy duvet or moving blanket on the wall you face, another behind the microphone, a rug underfoot, and a bookshelf or coat rack at your side. Record into that treated corner rather than out into the open room. If the duvet is behind you and the bare wall in front, you have built the setup backwards.
Skip thin foam. Those cheap egg-crate tiles shave off the top end and leave the muddier middle and low frequencies bouncing around, which makes a voice sound dull and boxed in. If someone offers you a bag for free, use it as packing material.
Do not deaden the room completely, either. A space with no life at all sounds strange on a voice track, and clients notice even when they cannot say why. A little natural room tone keeps a read sounding human.
If you want to build panels
A simple absorber is a wooden frame, dense mineral wool and a breathable fabric cover, hung with a small air gap from the wall. It is a weekend project that typically costs less than a new microphone and will improve your recordings more than the microphone would. Wear gloves and a mask when handling the wool, and seal it behind the fabric so fibres stay out of the air.
Microphone placement and technique
Placement changes your sound more than most people expect. Work through it in order:
- Get the mic off the desk. A floor stand with a boom, ideally with a shock mount. Every keystroke, mouse click and fan vibration travels through a desk into a mic sitting on it.
- Set the distance. Roughly a hand-span, around 15 to 20 centimetres from your mouth. Closer gives a fuller, more intimate tone but more plosives and mouth noise. Farther sounds distant and picks up more room.
- Angle it off-axis. Point the capsule slightly across your mouth rather than straight down your throat, aiming at the corner of the lips or just above or below the nose. Plosives and lip smacks drop away.
- Use the pattern. A cardioid mic rejects most sound from behind it, so put your treated wall in front of you and the noisy side of the room behind the microphone.
- Set gain sensibly. Aim for peaks well below clipping — somewhere around −12 to −6 dBFS on the meter — and leave headroom for a loud line.
A pop filter helps, but distance helps more. Stand if the script allows, or sit tall; a slumped posture changes both your breathing and your tone. Put the script on a music stand at eye level so your head does not drift toward and away from the capsule between lines.
Record twenty seconds of silence at the start of every session. That room tone is what noise-reduction tools need in order to work cleanly later, and it is very easy to forget once you are inside a read.
Test, listen, then fix one thing at a time
Clap once, sharply, in the spot where you will stand, and listen. A tight clap means the room is behaving. A metallic ring or a fast repeating flutter means two hard parallel surfaces are talking to each other — usually the front wall and the back one, or the ceiling and the floor.
Then record a short test and listen on headphones rather than speakers. Headphones expose hum, clicks, breath noise and the fridge you forgot about. Walk the room while wearing them and you will often find the source within a minute.
Change one thing per test: hang a blanket, shift the mic a few centimetres, re-angle the stand. Reading the same sentence each time makes the comparison honest. Keep the takes you like, because your ears remember less than you think.
A ten-minute routine before every session
Booths drift. Blankets slip, someone opens a window, the heating comes on. A quick check keeps quality consistent from job to job.
- Heating, fans and air conditioning off; phone in another room.
- Blankets in position, behind you and behind the microphone.
- Stand stable, shock mount tight, cable not touching the stand or the desk.
- Gain set and meter checked with a loud line from the script.
- Room tone recorded, headphones on, one ear free.
- Water within reach, script at eye level, first take treated as a test.
None of this requires a dedicated studio. It requires a quiet room, a plan, and the patience to listen back critically. Do that, and the gear you already own will start sounding better than it has any right to.
Photo: Orlando Allo / Pexels